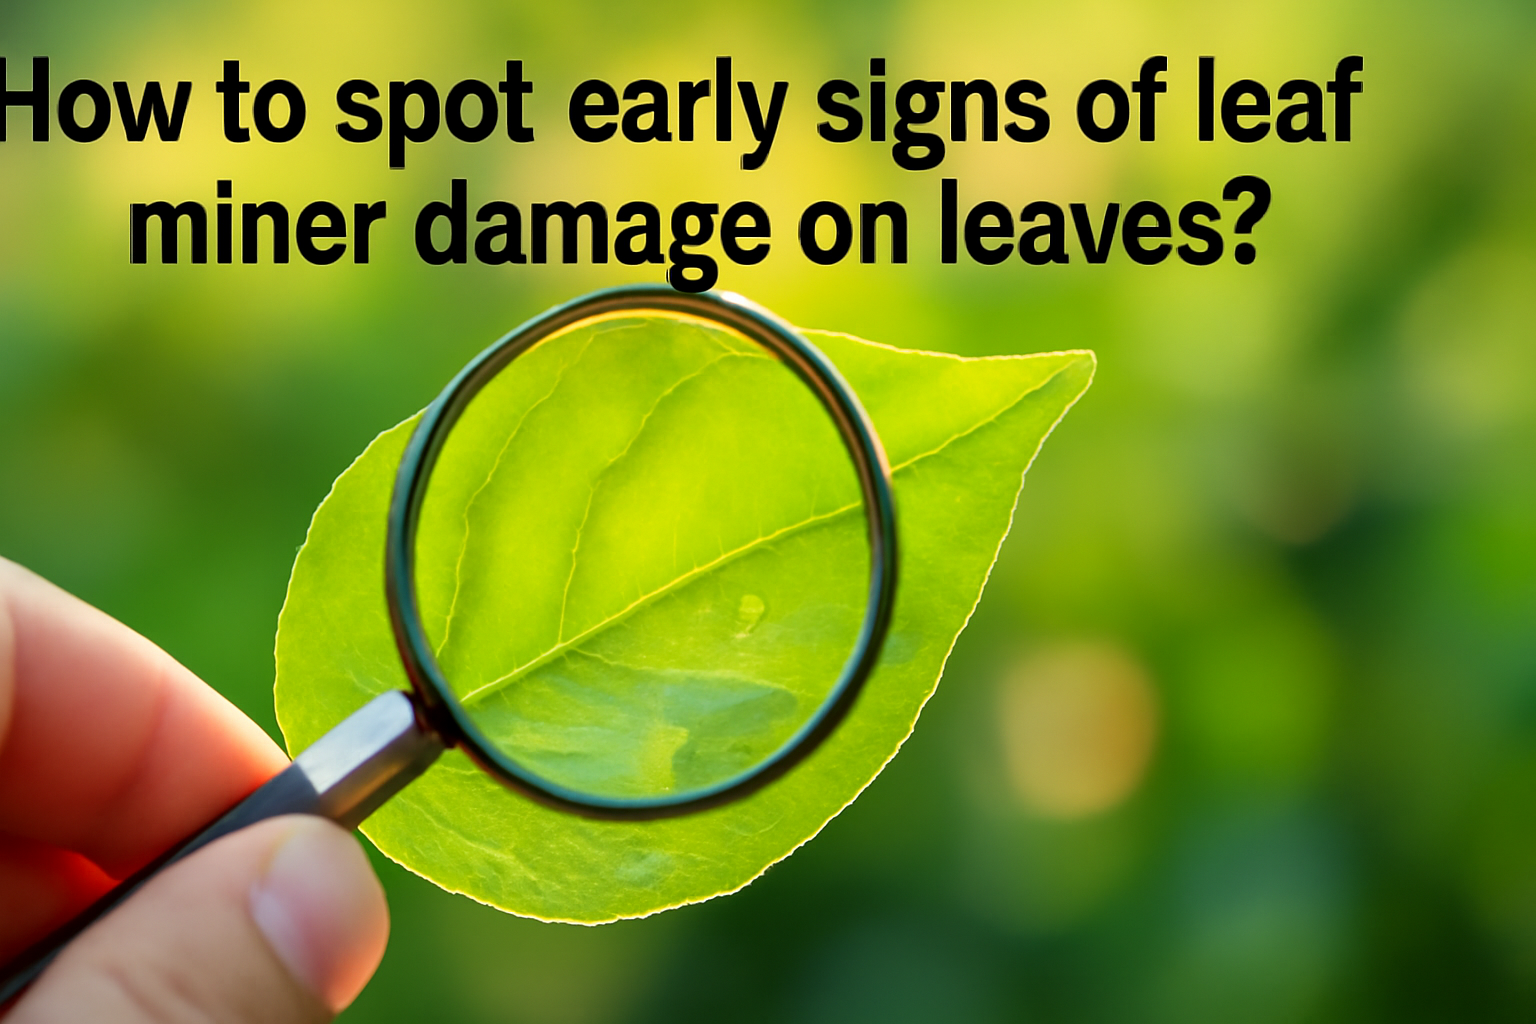
How to Spot Early Signs of Leaf Miners Damage on Leaves?
Spotting leaf miner damage early can save your garden from extensive damage. The earliest signs often appear as tiny stippling marks, subtle discoloration, or faint trails before obvious tunneling develops. By identifying these visual indicators quickly, you can prevent significant plant damage and reduce the need for treatments. Throughout my years as a pest management specialist, I’ve found that early detection is the most effective strategy against leaf miners.
What Are Leaf Miners and Why Early Detection Matters
Leaf miners are the larvae of various insect species that live inside leaf tissue, creating distinctive damage patterns as they feed. Understanding these pests and recognizing their presence early can save your plants from extensive damage.
These pests include several species families: Liriomyza (vegetable leaf miners), Phytomyza (chrysanthemum leaf miners), Chromatomyia (holly leaf miners), and Phyllocnistis citrella (citrus leaf miners). The larvae tunnel between the upper and lower surfaces of leaves, consuming the tissue as they move and creating visible damage patterns.
The life cycle begins when adult females lay eggs on leaf surfaces. After hatching, larvae immediately burrow into the leaf tissue where they feed protected from predators and natural pest control methods. This internal feeding continues until pupation, after which adults emerge to restart the cycle.
| Photo | Popular Pest Repellents | Price |
|---|---|---|

|
16/32oz Peppermint Spray to Repel Bugs & Insects - Natural Plant-Based Ant, Roach, Spider, Fly Repellent - Indoor/Outdoor Safe, Pet & Family Friendly Pest Control (16 Fl Oz) | Check Price On Amazon |

|
Nature's Dome Pest Control Starter Kit – Makes 3 Bottles (16 oz Each) – Eco-Friendly, Plant-Based Formula for Ant, Roach, Spider, Fly, Flea & Insect Control – Child & Pet Safe for Indoor/Outdoor Use | Check Price On Amazon |

|
(2025 Upgraded) Ultrasonic Insect & Pest Indoor Repeller – Stronger Driving Force, Plug-in Control Electronic Repellent for Roach, Mouse, Rodent, Bugs, Spider, Mice, Ant, 2 Mode Switching (6 Pack) | Check Price On Amazon |

|
LONYEON 8L Electric ULV Cold Fogger Machine with Backpack Mist Atomizer, Adjustable Flow Rate, Large Area Spraying for Home Indoor Outdoor | Check Price On Amazon |

|
Pest Control, Mouse Repellant Pouches, 10 Pack, Mice Repellent Indoor, Peppermint Oil for Rodents & Cucarachas & Spiders & Snakes, Safe Effective Rodent Repellent for Car Engines, RV, Home Use | Check Price On Amazon |
Early detection matters significantly. According to studies from UC Davis, identifying leaf miner activity in its earliest stages can reduce plant damage by up to 80%. When you catch infestations early, you can:
- Remove affected leaves before larvae develop further
- Implement targeted controls before population explosion
- Prevent spread to neighboring plants
- Maintain plant health and aesthetics
Common host plants include vegetables (tomatoes, spinach, chard), ornamentals (columbine, chrysanthemums), fruit trees (especially citrus), and various shrubs like holly and boxwood. Now that you understand what leaf miners are, let’s examine the subtle visual clues that indicate their presence before obvious tunneling appears.
9 Visual Indicators: The Earliest Signs of Leaf Miner Activity
Before leaf miners create their characteristic tunnels, they leave subtle clues that are often overlooked. Here are nine early visual indicators that can help you detect leaf miner activity before significant damage occurs.
- Tiny stippling or pinprick marks: Adult females create small feeding punctures before laying eggs. These appear as tiny dots, often in clusters, and are one of the first indicators of leaf miner presence. These marks are typically 0.2-0.5mm in diameter.
- Subtle discoloration: Slight yellowing or pale green spots can appear where eggs have been deposited or where larvae have just begun feeding. This discoloration is often most visible when leaves are backlit.
- Small translucent spots: Egg deposition sites often appear as tiny translucent areas when viewed with light behind the leaf. These spots are typically 0.3mm in size and may have a slightly raised appearance.
- Minor leaf surface irregularities: Slight bumps or depressions may form where eggs have been inserted into leaf tissue. Running your finger gently over the leaf surface can sometimes detect these before they’re visible.
- First signs of serpentine trails: The earliest tunnels appear as thread-like lines, often near leaf veins. These initial tunnels might be only 1-2mm long and extremely narrow, requiring magnification to spot.
- Faint yellowing along leaf veins: Early larval feeding often follows leaf veins, creating subtle yellowing that follows the vein pattern before distinct tunnels form.
- Barely visible raised areas: As larvae begin feeding, the affected tissue may appear slightly raised compared to surrounding leaf areas. This is particularly noticeable when viewing leaves at an angle in bright light.
- Minor distortion of new leaf growth: Newly emerging leaves may show slight deformities if eggs were laid in developing tissue. This can appear as small wrinkles or asymmetrical growth.
- Egg-laying puncture marks: Distinct from feeding stippling, egg-laying punctures often appear on leaf undersides as minute scars, sometimes with a small whitish cap where the female inserted her ovipositor.
To enhance visibility of these subtle signs, I recommend examining leaves with backlighting (holding them up to the sun or a light source) and using at least 10x magnification. Morning inspection often provides the best lighting conditions for spotting these early indicators.
The timeline between these early signs and visible tunneling can be remarkably short, often just 2-4 days depending on temperature. This narrow window makes regular monitoring crucial for successful early detection.
These early indicators can sometimes be confused with other plant issues. Let’s examine how to distinguish leaf miner damage from similar-looking problems.
Leaf Miner Damage vs. Look-Alike Problems: Comparative Guide
Early leaf miner damage can be mistaken for several other plant issues. This comparative guide will help you make an accurate diagnosis by highlighting the key differences.
| Visual Characteristic | Leaf Miner Early Signs | Similar Issue | Key Differentiating Features |
|---|---|---|---|
| Small stippling | Clustered tiny dots, often in lines | Spider mite damage | Leaf miner stippling is larger, less uniform, and lacks the webbing associated with spider mites |
| Discoloration | Localized pale spots or subtle yellowing | Nutrient deficiency | Leaf miner discoloration follows specific patterns or spots rather than affecting entire leaves or occurring between veins |
| Early trails | Thin, winding paths with clear edges | Leaf veins and variegation | Leaf miner trails don’t follow symmetrical patterns and often contain visible frass (excrement) |
| Egg deposits | Tiny raised bumps, often translucent | Disease lesions | Leaf miner eggs are uniform in size, often in lines, while fungal lesions vary in size and have diffuse borders |
| Beginning tunnels | Narrow, increasing in width as they progress | Fungal leaf spot | Tunnels create clear paths rather than the circular pattern of fungal spots, and lack the dark border of many leaf diseases |
To confirm leaf miner presence in questionable cases, try these simple tests:
- Backlight examination: Hold the leaf up to light. Leaf miner damage shows distinct transparency within tunnels, often with a visible dark speck (the larva) at the tunnel end.
- Magnified inspection: Using a 10-20x hand lens, look for frass (tiny black dots of excrement) within suspected tunnels, a definitive sign of leaf miners.
- Timeline test: Mark suspicious spots and check again in 24 hours. Leaf miner damage will typically expand in a clear directional pattern, while disease spots enlarge more uniformly.
Now that you can distinguish leaf miner damage from similar issues, let’s explore how early signs may appear differently across various plant types.
Plant-Specific Early Warning Signs: What to Look for by Plant Type
Leaf miner damage presents differently depending on the plant type. Understanding these variations will help you detect problems early in your specific garden plants.
1.1 Vegetable Plants
Tomatoes, spinach, chard, and beets are particularly vulnerable to leaf miners. In these plants, watch for:
- Spinach and chard: Initial damage appears as tiny clear spots before developing into blotch-type mines. The thin leaf structure makes early detection easier with backlighting.
- Tomatoes: Look for slight yellowing between leaf veins and small stippling on upper leaf surfaces. Liriomyza species typically attack these plants, creating early damage that follows leaf veins.
- Beets: Early signs include small translucent spots that quickly develop into blotch mines. Monitor the inner, newer leaves where females often lay eggs.
Monitor new growth vigilantly, as leaf miners often target the tender tissue of developing leaves.
Ornamental Plants
Columbine, chrysanthemums, and nasturtiums commonly host leaf miners with distinct early symptoms:
- Columbine: The columbine leaf miner creates early serpentine mines that follow leaf margins before branching inward. Check leaf edges for the first signs.
- Chrysanthemums: Initial damage appears as subtle stippling before developing into meandering mines. The Chromatomyia species that attacks these plants often creates early feeding spots along the midrib.
- Nasturtiums: With their circular leaves, early detection involves checking the area where the stem attaches, as this is where egg-laying often begins.
The thicker leaf structure of many ornamentals may obscure early tunnels, making surface irregularities and stippling more important indicators.
Trees and Shrubs
Citrus, boxwood, holly, and birch trees have specific early warning signs:
- Citrus: Phyllocnistis citrella creates silvery trails that begin as extremely thin lines on new flushes of growth. Weather during monsoon season dramatically affects leaf miner outbreaks in citrus trees, with higher humidity increasing egg-laying activity.
- Boxwood: Early damage appears as small yellow spots before developing into characteristic serpentine mines. Focus monitoring on leaf undersides where eggs are typically laid.
- Holly: The holly leaf miner creates early damage that follows the midrib before branching outward. Initial signs include subtle discoloration along the central vein.
- Birch: Watch for small brown spots at leaf margins, as the birch leaf miner typically begins feeding at the leaf edge.
For woody plants, timing irrigation and pruning correctly can significantly reduce leaf miner populations. I’ve found that proper timing of these maintenance activities can create less favorable conditions for egg-laying.
Houseplants and Indoor Gardening
Leaf miners can affect indoor plants too, with these early indicators:
- Citrus houseplants: Look for tiny, light-colored spots on new growth that appear greasy or wet.
- Herbs (especially basil and mint): Watch for small translucent spots that quickly develop into widening tunnels.
- Coleus: Early damage appears as subtle discoloration that can be easily mistaken for variegation. Check for irregular patterns that don’t match the plant’s normal coloration.
Indoor conditions often accelerate leaf miner development, making early detection even more time-sensitive.
Knowing what to look for on specific plants is essential. Now let’s develop a systematic monitoring approach to catch these early signs before damage progresses.
Effective Monitoring Techniques: How to Implement an Early Detection System
Regular monitoring is crucial for catching leaf miner infestations at the earliest stage. This systematic approach will help you implement an effective early warning system.
Essential monitoring tools:
- 10-20x hand lens or jeweler’s loupe ($10-30) – essential for spotting early tunnels and eggs
- Small LED flashlight for backlighting leaves ($5-15) – improves visibility of translucent damage
- Smartphone with macro lens attachment ($15-40) – for documenting suspicious areas
- Yellow sticky cards ($10 for 10-20 cards) – for monitoring adult activity
- White paper or collection tray – for examining dislodged pests
- Garden journal or smartphone app – for tracking observations
Step 1: Establish optimal monitoring frequency
Set a regular inspection schedule based on season and weather conditions:
- During peak growth seasons (spring/summer): Inspect susceptible plants twice weekly
- During adult emergence periods: Daily quick checks of indicator plants
- After rainfall or irrigation: Check within 24 hours, as moisture often triggers egg-laying
- During temperature increases: Increase monitoring as warmer weather accelerates development
Step 2: Implement strategic plant sampling
- Focus on “indicator plants” known to show early infestation (columbine, nasturtiums, spinach)
- Check both new growth and mature leaves
- For larger gardens, inspect a minimum of 5-10 leaves per plant type
- Always examine both upper and lower leaf surfaces
Step 3: Use proper examination techniques
- Hold leaves up to the sky or light source to spot translucent damage
- Use your hand lens to examine suspicious spots, stippling, or discoloration
- Gently feel leaf surfaces for slight irregularities that might indicate egg-laying
- Take clear, close-up photos of suspicious areas for comparison on future checks
Step 4: Deploy yellow sticky traps strategically
Sticky traps are effective against leaf miners for monitoring purposes. Place them at plant height near susceptible species. Check traps twice weekly, noting any increase in adult leaf miner capture, which indicates potential egg-laying activity is imminent.
Step 5: Maintain monitoring records
- Document date, plants checked, and findings
- Note weather conditions and plant growth stages
- Photograph early signs for reference and comparison
- Track progression from first signs to visible damage
Through my field experience, I’ve found that dedicating just 10-15 minutes twice weekly to focused monitoring can prevent major infestations. The most critical monitoring periods align with seasonal changes in leaf miner activity.
Seasonal Timing: When to Monitor for Early Leaf Miner Signs
Leaf miners follow seasonal patterns that affect when and how their damage first appears. Understanding these patterns will help you focus your monitoring efforts when they matter most.
Spring: First Emergence and Initial Monitoring
As temperatures consistently reach 60°F (15.5°C), leaf miners become active. This typically occurs:
- USDA Zones 8-10: February to March
- USDA Zones 5-7: April to early May
- USDA Zones 3-4: Mid-May to June
Early spring monitoring should focus on overwintering sites and early-season crops. Research from Cornell University indicates that first-generation leaf miners often emerge 7-10 days earlier than historical averages due to climate change, making early monitoring increasingly important.
Early Summer: Peak Activity Period
The most intense leaf miner activity occurs when temperatures consistently range between 70-85°F (21-29°C). During this period:
- Monitor every 3-4 days, especially after rain
- Focus on new growth flushes, which attract egg-laying females
- Check late afternoon when adults are most active
- Be particularly vigilant with vegetable seedlings and tender new growth
Early summer generations develop faster, with as little as 8-12 days from egg to adult in warm conditions, making this season critical for prevention.
Late Summer/Fall: Secondary Generations
As temperatures begin to moderate, leaf miner pressure often increases again:
- Watch for population rebounds in August-September
- Pay special attention to fall vegetable crops
- Monitor ornamentals that produce late-season growth flushes
Secondary generations may show different feeding patterns than spring generations, often creating more blotch-type mines rather than serpentine trails.
Winter: Dormant Period Monitoring
In cooler climates, focus on:
- Checking evergreen plants for overwintering signs
- Inspecting soil around previously infested plants for pupae
- Monitoring greenhouse and indoor plants where leaf miners remain active
In zones 9-11, leaf miners may remain active year-round, requiring consistent monitoring with only slight reduction in frequency during cooler months.
Once you’ve identified early signs of leaf miner activity, taking prompt action can prevent significant damage. Let’s explore the decision-making process for early intervention.
Early Intervention Decision Framework: When and How to Act
Early detection is only valuable if followed by appropriate action. This decision framework will help you determine when and how to respond to early signs of leaf miner activity.
Assessment Criteria: How Many Early Signs Warrant Action?
- For edible crops: Intervention recommended when 5% of leaves show early signs
- For ornamentals: Consider action when 10-15% of leaves show early indicators
- For prized specimen plants: Take action with any confirmed leaf miner activity
Research from UC Davis shows that early intervention at these thresholds can reduce overall infestation by 80% compared to waiting until tunneling is widespread.
Plant-Specific Thresholds
Adjust your response based on plant type and value:
- Leafy vegetables (spinach, chard): Lowest threshold, act with first signs
- Fruiting crops (tomatoes, citrus): Moderate threshold, as some leaf damage won’t affect yield
- Mature trees/shrubs: Higher threshold, as established plants can tolerate more damage
- Seedlings and young plants: Immediate action with any signs
Early-Stage Treatment Selection
For confirmed early-stage infestations, select targeted interventions:
- Physical removal: For limited early signs, prune and destroy affected leaves
- Targeted sprays: Target leaf miner eggs on leaves using natural sprays like neem oil (1-2% solution) applied to leaf undersides
- Beneficial insects: Release parasitic wasps (Diglyphus isaea) for early biological control
- Row covers: For vegetable crops, apply immediately upon first detection
- Sticky traps: Increase trap density to capture adults before additional egg-laying
For early-stage treatment, apply interventions during early morning or late evening when beneficial insects are less active.
Monitoring After Intervention
- Check treated plants 3-5 days after intervention
- Look for progression of existing damage or new signs
- Document effectiveness for future reference
- If signs continue to develop, implement secondary treatments
Prevention Strategies After Early Detection
Once you’ve addressed initial signs, implement these preventive measures:
- Increase plant health through proper irrigation and fertility
- Apply weekly preventive sprays to high-value plants during peak seasons
- Introduce and maintain beneficial insect populations
- Modify planting schedules to avoid peak leaf miner periods for new plantings
Effective early detection often requires the right tools. Let’s examine the equipment that can enhance your ability to spot leaf miner damage at its earliest stage.
Essential Tools for Early Detection: Equipment Guide
Spotting the earliest signs of leaf miner damage often requires more than the naked eye. These essential tools will significantly improve your ability to detect problems before they become severe.
Magnification Devices
- 10-20x hand lens ($10-25): The most versatile tool for garden inspection. Look for coated glass lenses and LED illumination.
- Jeweler’s loupe ($15-30): Provides higher magnification (20-30x) for examining suspected egg deposition sites. Folding models fit easily in a pocket.
- Pocket microscope ($25-50): 60-100x magnification reveals the smallest details, including leaf miner eggs and early larval development.
For beginners, I recommend starting with a quality 10x hand lens with built-in LED lighting. This provides sufficient magnification for most early detection needs while remaining affordable and portable.
Lighting Tools
- LED penlight ($8-15): Provides focused backlighting when held behind leaves to reveal translucent damage.
- Headlamp with adjustable brightness ($20-40): Keeps hands free for manipulating leaves while providing consistent illumination.
- Folding pocket light panel ($15-30): Creates an even backlight for examining multiple leaves.
The angle of light dramatically affects visibility of early signs. Morning or evening sun naturally provides the best side lighting to reveal subtle leaf surface irregularities.
Smartphone Accessories
- Clip-on macro lens ($15-40): Transforms your smartphone camera into a magnification and documentation tool.
- Plant identification apps (Free-$5): Many include pest identification features that can help confirm leaf miner species.
- Garden journal apps (Free-$10): Track monitoring observations and photo documentation chronologically.
For budget-conscious gardeners, many of these functions can be accomplished with DIY alternatives:
- A drop of water on your smartphone camera lens creates a simple macro effect
- A clear plastic bag filled with water makes an improvised magnifier
- A white paper behind leaves serves as a basic backlight
Monitoring and Collection Equipment
- Yellow sticky cards ($8-12 for pack): Attract and capture adult leaf miners to monitor population trends.
- White collection sheet ($5-10): Place under plants while tapping branches to dislodge and identify adult insects.
- Plant labels ($3-8): Mark monitored leaves to track progression of suspicious spots.
Even experienced gardeners can miss early signs of leaf miner damage. Being aware of these common mistakes will significantly improve your detection success rate.
Common Mistakes in Early Detection: Pitfalls to Avoid
Even experienced gardeners can miss early signs of leaf miner damage. Being aware of these common mistakes will significantly improve your detection success rate.
Confusing natural leaf patterns with early damage
Solution: Create a photographic reference library of your healthy plants, focusing on natural venation patterns and variegation. Compare suspicious marks against these references. Natural patterns typically show symmetry, while leaf miner damage appears random.
Monitoring at the wrong time of day
Solution: Check leaves during early morning or late afternoon when angled light makes surface irregularities more visible. Avoid mid-day inspection when direct overhead light can wash out subtle signs. For backlighting, the hour before sunset provides optimal conditions.
Overlooking leaf undersides
Solution: Make a habit of examining both leaf surfaces systematically. Many leaf miner species preferentially lay eggs on leaf undersides, with early feeding beginning there before becoming visible on upper surfaces. Flip every inspected leaf over.
Waiting for obvious tunneling
Solution: Train yourself to look for pre-tunneling indicators like stippling, egg deposition sites, and slight discoloration. Create a mental image of what to look for before tunneling develops, rather than waiting for classic serpentine trails.
Focusing only on mature leaves
Solution: Implement a balanced inspection approach that includes new growth, which often attracts egg-laying females. In many plants, tender new growth is preferred for egg deposition, making it a critical focus area for early detection.
Using inadequate lighting
Solution: Always carry a small flashlight during garden inspections. Use it to backlight leaves by holding it behind the leaf while examining the surface. This simple technique dramatically improves visibility of early feeding sites and egg deposits.
Inconsistent monitoring schedules
Solution: Set calendar reminders for regular inspections, especially during peak leaf miner seasons. Consistency is key, as the window between earliest signs and visible damage can be just 2-4 days. Even brief, focused daily checks of indicator plants can catch problems early.
Now let’s address the most common questions gardeners have about spotting early leaf miner damage.
Frequently Asked Questions About Early Leaf Miner Detection
These frequently asked questions address the most common concerns and confusions about identifying leaf miner damage at its earliest stages.
How many days before visible tunnels can leaf miner damage be detected?
Early signs can appear 2-5 days before distinctive tunnels form. With proper magnification and backlighting, egg deposition sites can be spotted 3-7 days before any feeding damage occurs. Temperature significantly affects this timeline, with faster development in warmer conditions.
Can leaf miner eggs be seen with the naked eye?
Most leaf miner eggs are barely visible without magnification, measuring just 0.2-0.3mm. However, on light-colored leaves, egg deposition sites may appear as tiny yellowish or whitish spots. A 10x magnifier is typically sufficient to confirm the presence of eggs.
Are some plants more likely to show early warning signs than others?
Yes. Plants with thin leaves (spinach, chard) often show translucent spots earlier, while plants with lighter-colored leaves (variegated coleus, citrus) make discoloration more apparent. Dark, thick-leaved plants typically require more careful inspection as early signs can be less obvious.
How do environmental conditions affect the visibility of early signs?
High humidity often makes early signs more visible by enhancing leaf translucency. Strong sunlight can wash out subtle discoloration, making early morning or evening inspection more effective. After rain, early tunnels may appear more pronounced due to increased leaf moisture content.
Can leaf miners be detected before they hatch from eggs?
Yes, with proper tools. Egg deposition sites appear as small bumps or translucent spots, often arranged in patterns. With 20x magnification, eggs themselves can be identified as tiny oval objects, typically on leaf undersides or within leaf tissue.
Do different leaf miner species show different early warning signs?
Yes. Serpentine leaf miners (Liriomyza species) typically create thin, winding initial tunnels, while blotch leaf miners (Chromatomyia species) produce broader, irregular early feeding areas. Citrus leaf miners often create silvery trails from the beginning, while vegetable leaf miners may start with small pits before creating distinct tunnels.
Is it worth treating plants showing only the earliest signs of damage?
Absolutely. Research from UC Davis shows that intervention at the earliest detection stage reduces overall damage by 80% compared to waiting for obvious tunneling. Early treatment also allows for less intensive methods, often limited to removing affected leaves rather than whole-plant treatment.
How do I distinguish between old and new leaf miner damage?
Fresh damage appears bright and often translucent, with green or moist tissue inside tunnels. Active tunnels contain visible larvae when backlit. Older damage turns brown or dry, with empty tunnels or exit holes where adults have emerged. Fresh damage edges appear clean, while older damage often has corky or calloused margins.
Armed with this knowledge about early detection, you’re now ready to implement a proactive monitoring system in your garden.
Conclusion: Implementing Your Early Detection Strategy
Successful early detection of leaf miner damage requires a combination of knowledge, tools, and consistent monitoring habits. Let’s summarize the key points to implement an effective early warning system.
The most critical early warning signs to watch for include tiny stippling, subtle discoloration, small translucent spots, and thread-like tunnels just beginning to form. These indicators typically appear 2-7 days before obvious damage develops, giving you a crucial window for intervention.
Establish a regular monitoring routine that includes:
- Twice-weekly inspections during peak seasons
- Systematic examination of both leaf surfaces
- Use of proper lighting and magnification
- Strategic placement of yellow sticky traps
- Documentation of findings for comparison
Remember that seasonal vigilance is essential, with increased monitoring during spring emergence, summer growth flushes, and fall secondary generations. Adjust your monitoring frequency based on weather conditions, as warm, humid periods accelerate leaf miner development.
Invest in basic detection tools, particularly a quality hand lens and small flashlight for backlighting. These simple implements dramatically improve your ability to spot the subtlest early signs.
By implementing these practices, you’ll significantly reduce leaf miner damage in your garden while decreasing the need for extensive treatments. Early detection truly represents the most effective and environmentally friendly approach to leaf miner management.
The difference between experienced and novice gardeners often lies not in the treatments they apply, but in their ability to spot problems at the earliest stage. With the knowledge and techniques from this guide, you’re now equipped to identify leaf miner activity before significant damage occurs, preserving both the health and beauty of your plants.
Now that you can identify leaf miners at the earliest stage, explore our related guides on natural treatment methods and prevention strategies to complete your pest management approach.